2.1.1. Learn how to Use the AWS Management Console to launch EC2 instance using Public AMI#
Public AMI contains the software and data to run 2016_12SE3 using CMAQv5.3.3#
Software was pre-installed and saved to a public ami.
The input data was also transferred from the AWS Open Data Program and installed on the EBS volume.
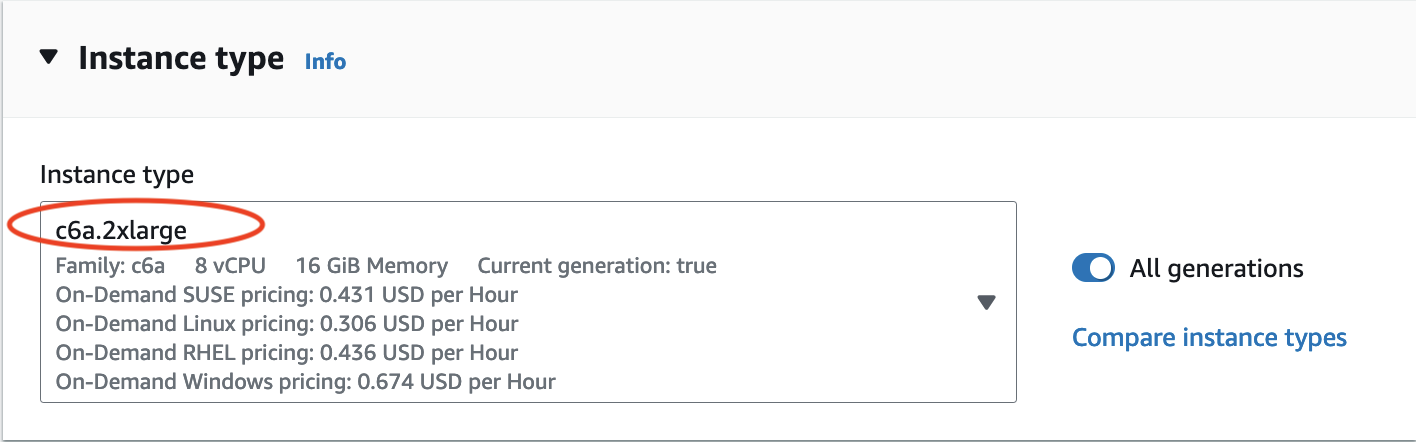
This chapter describes the process used in the AWS Web interface to configure and create a c6a.2xlarge ec2 instance using a public ami. With additional instructions to use ssh to login and run CMAQ for the 2016_12SE3 domain.
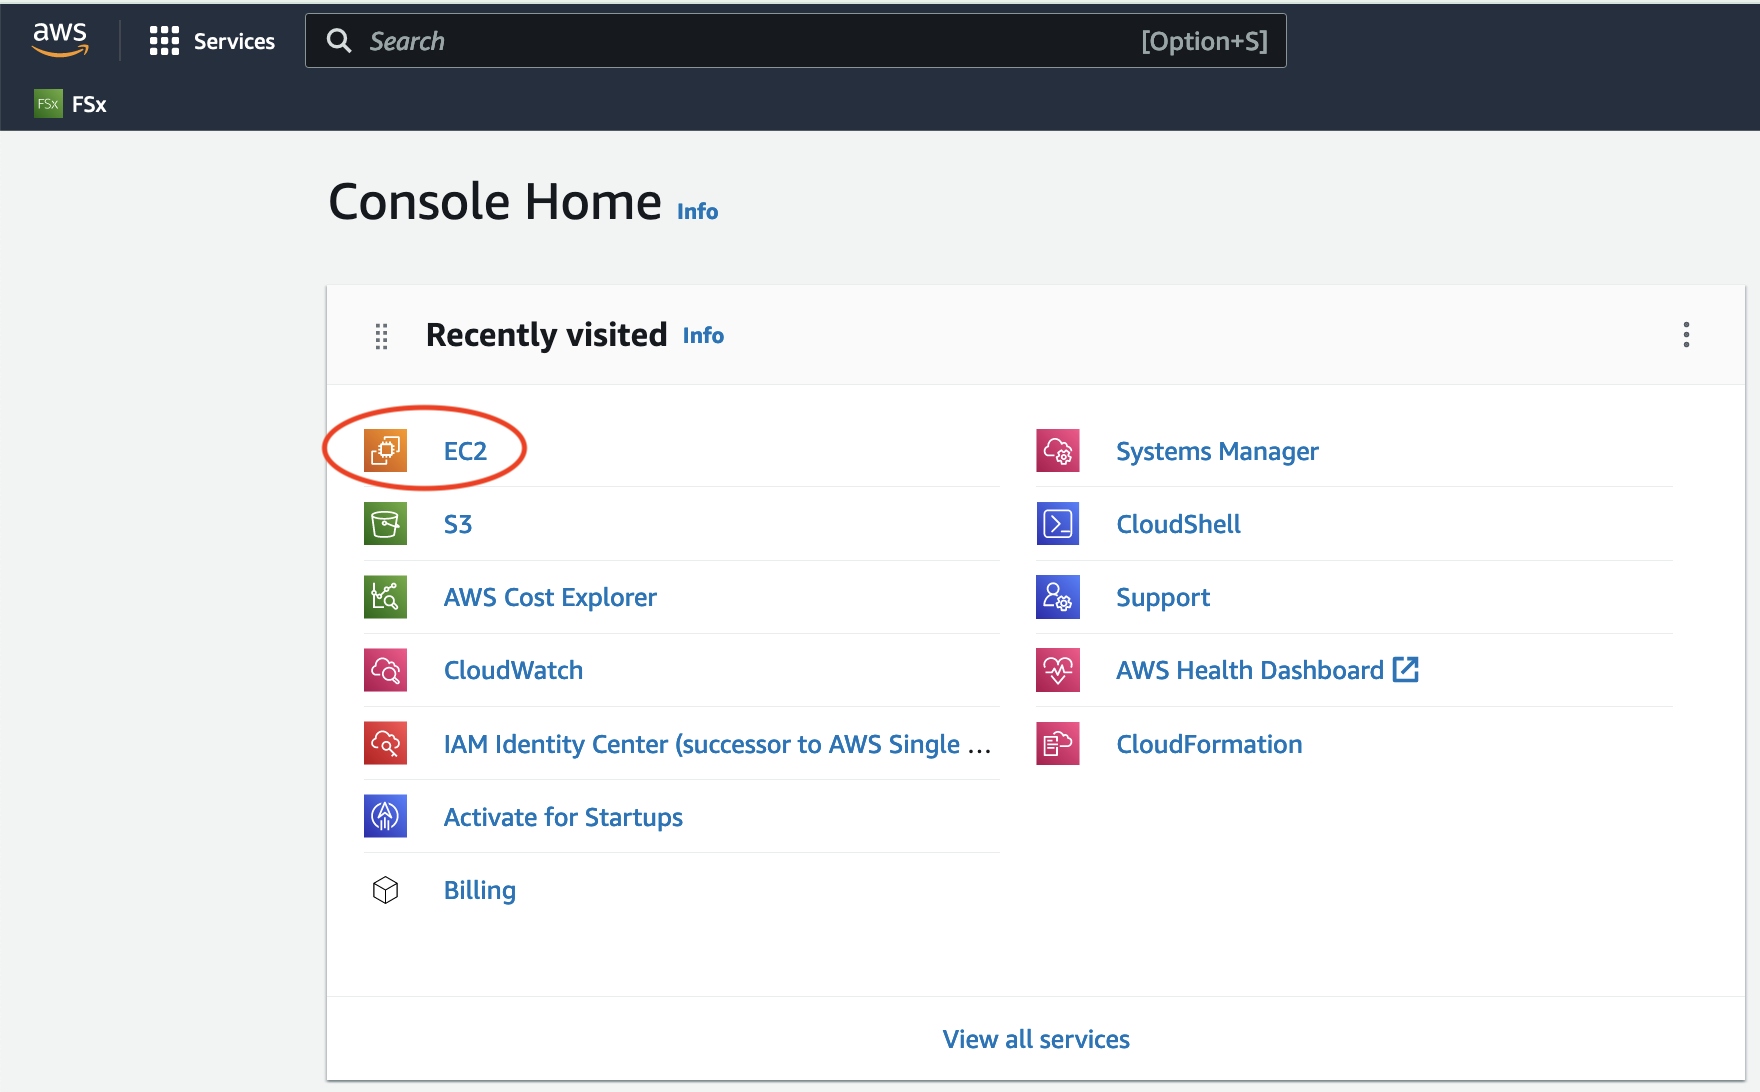
Login to the AWs Consol and select EC2#
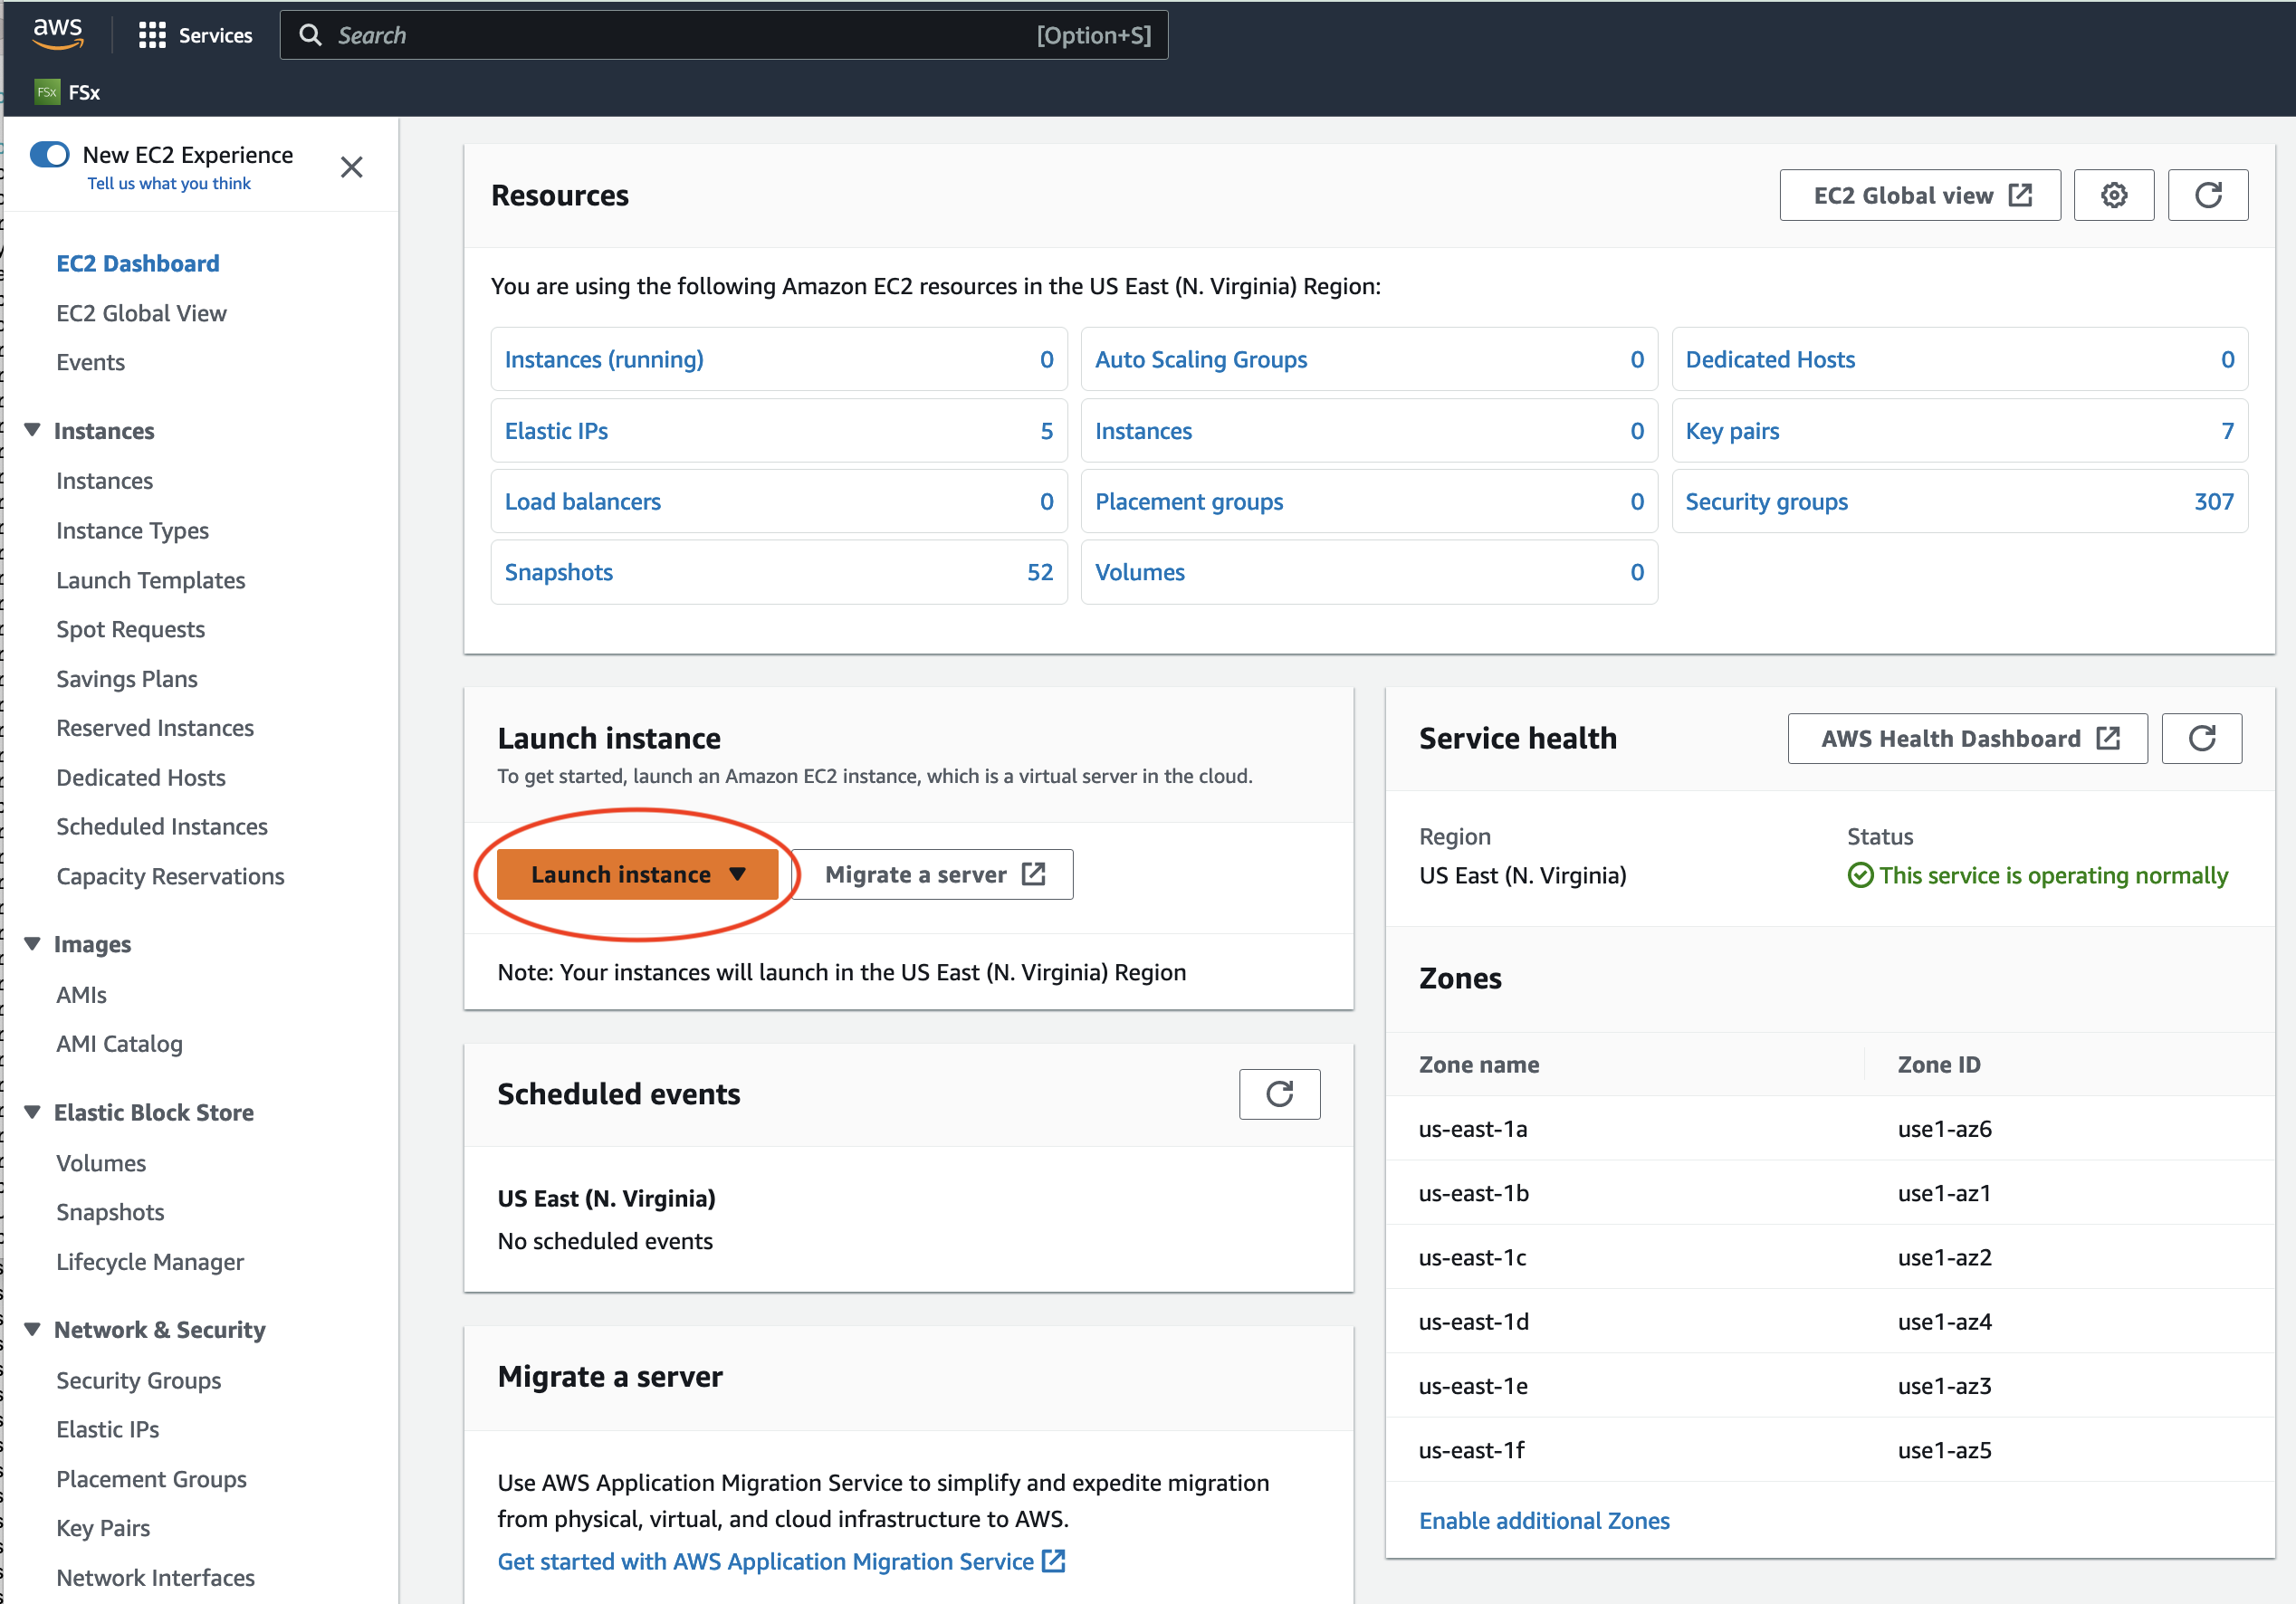
Click on the orange “Launch Instance” button#
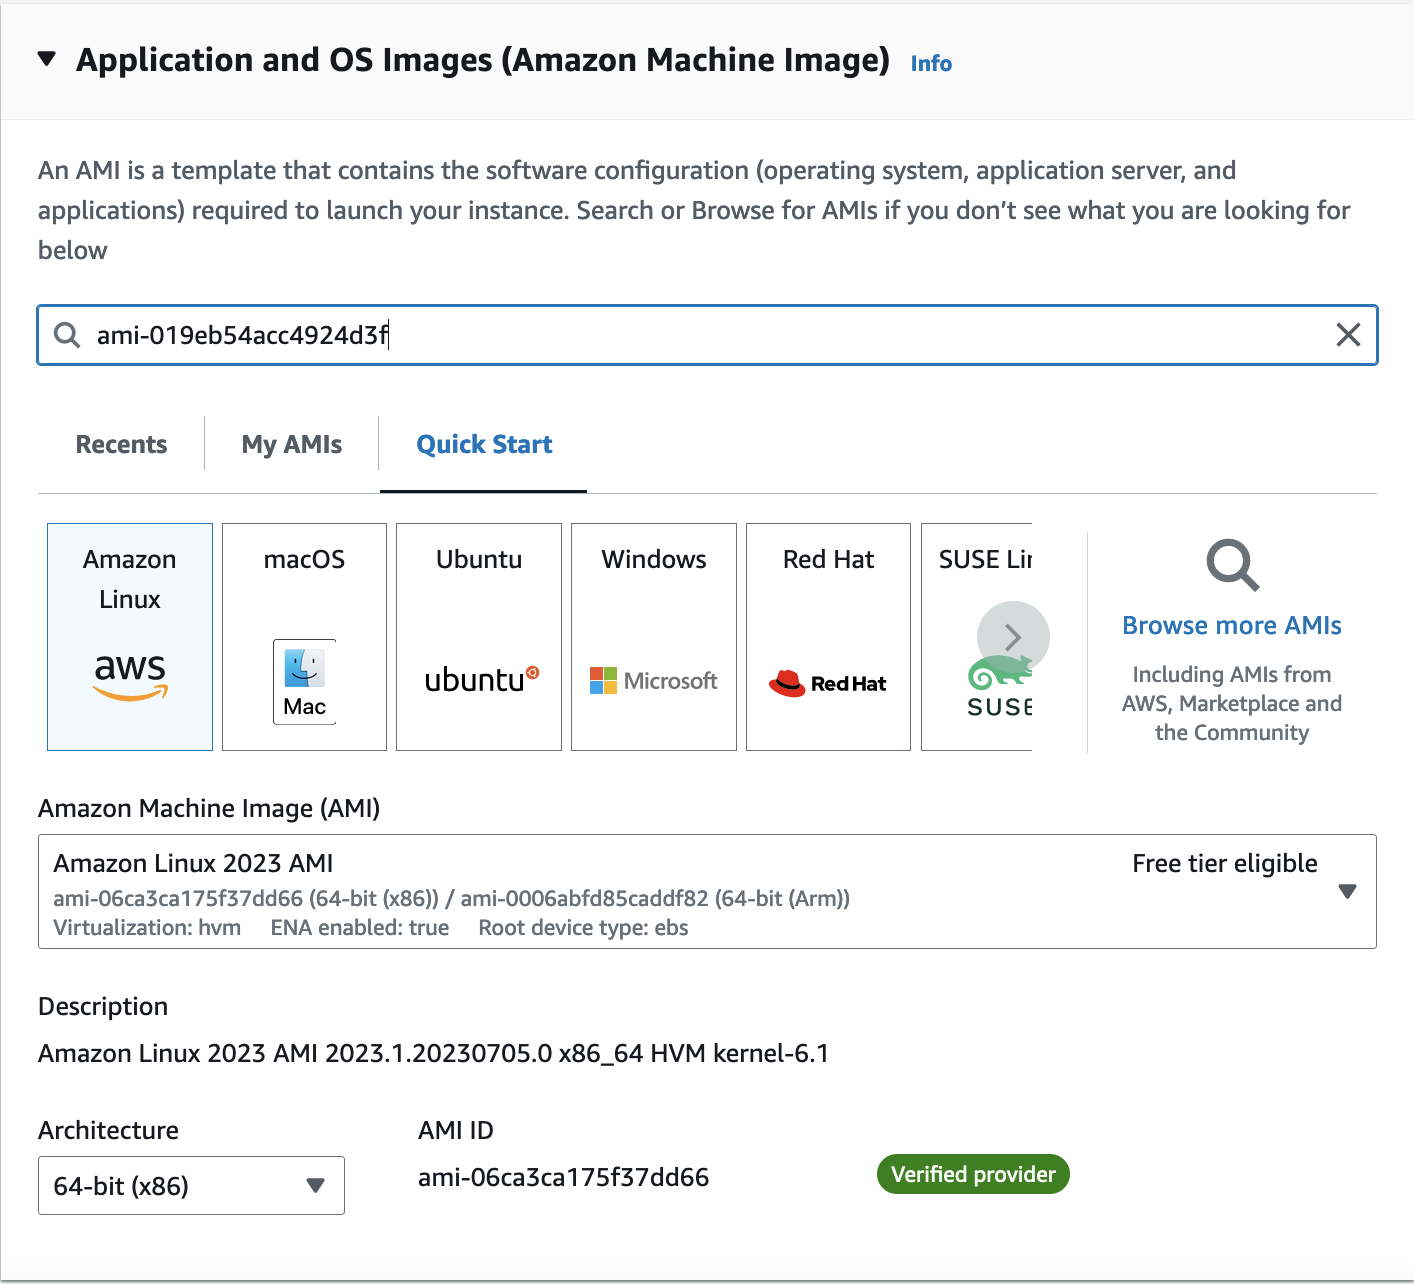
Enter the ami name: ami-019eb54acc4924d3f in the Search box and return or enter.#
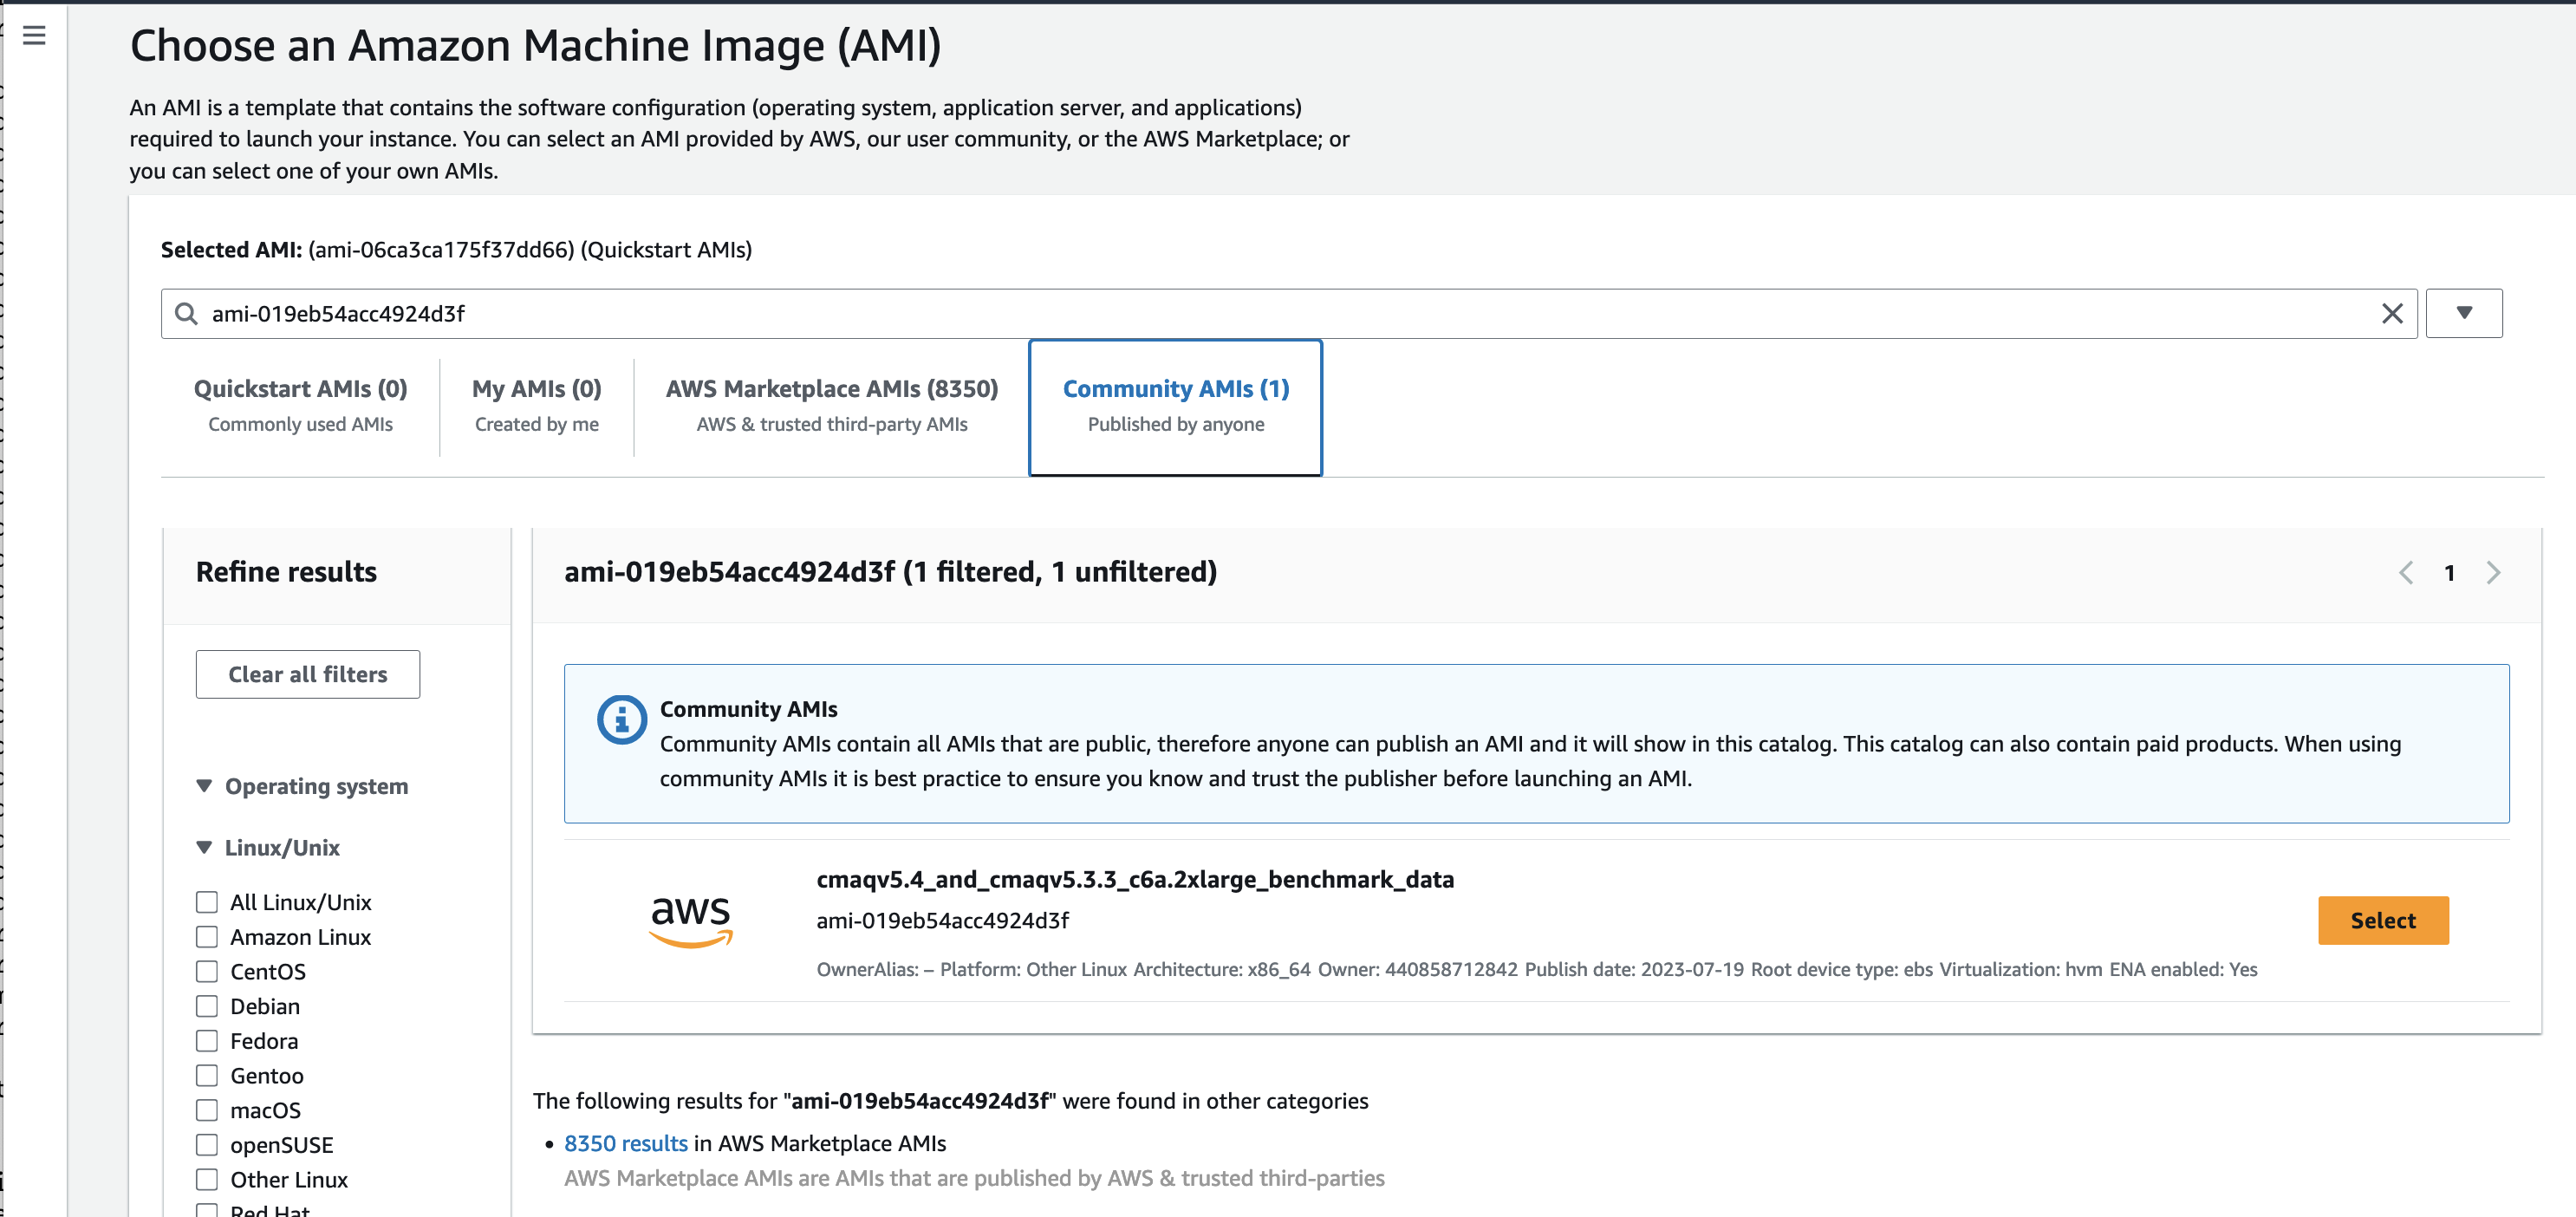
Click on the Community AMI tab and then and click on the orange “Select” button
Note this AMI was built for the following architecture, and can be used by the c6a - hpc6a family of instances#
Canonical, Ubuntu, 22.04 LTS, amd64 jammy image build on 2023-05-16
Search for c6a.2xlarge Instance Type and select#
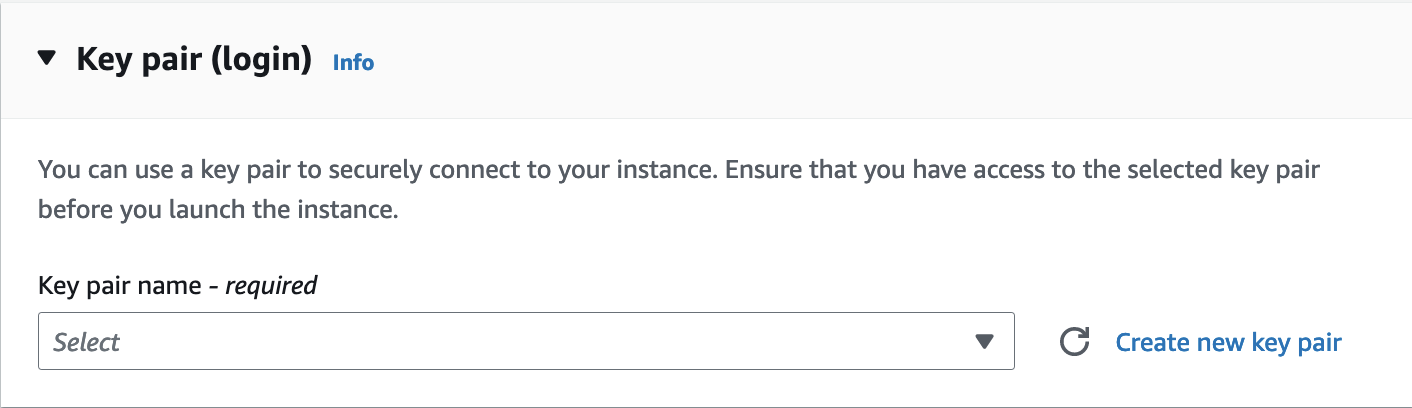
Select key pair name or create a new key pair#
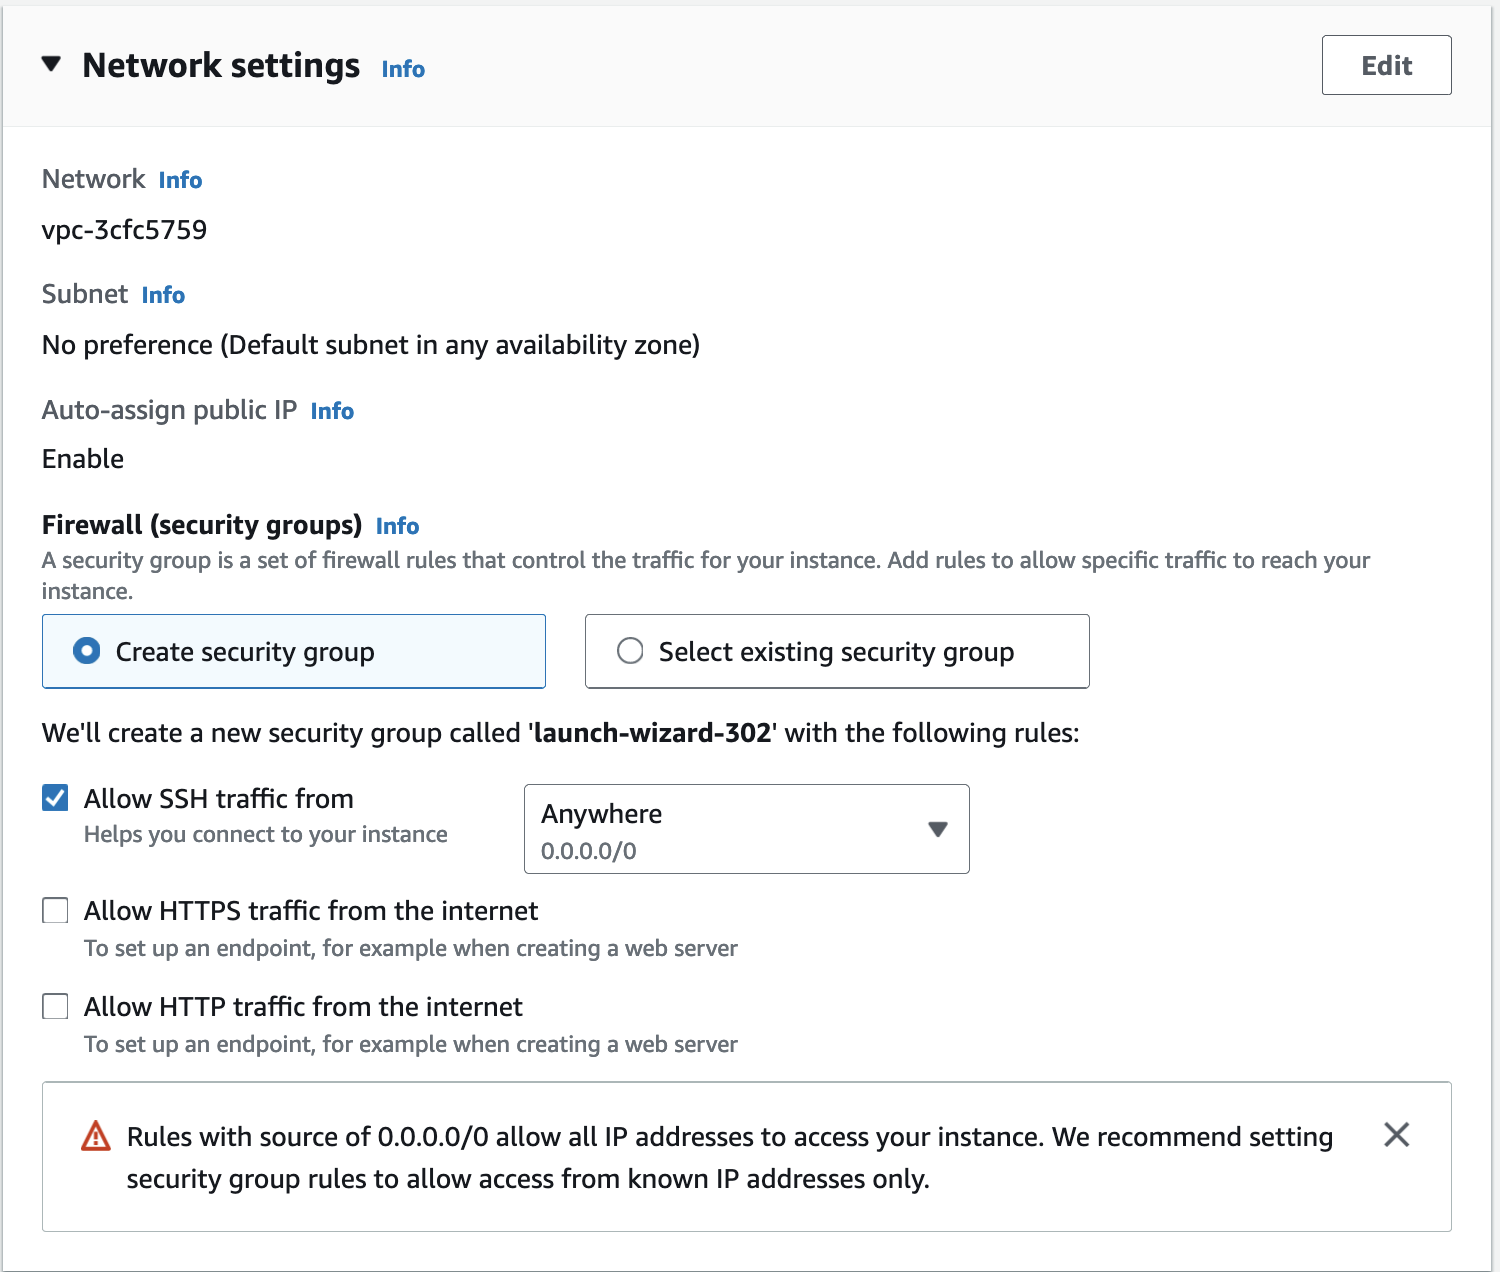
Use the default Network Settings#
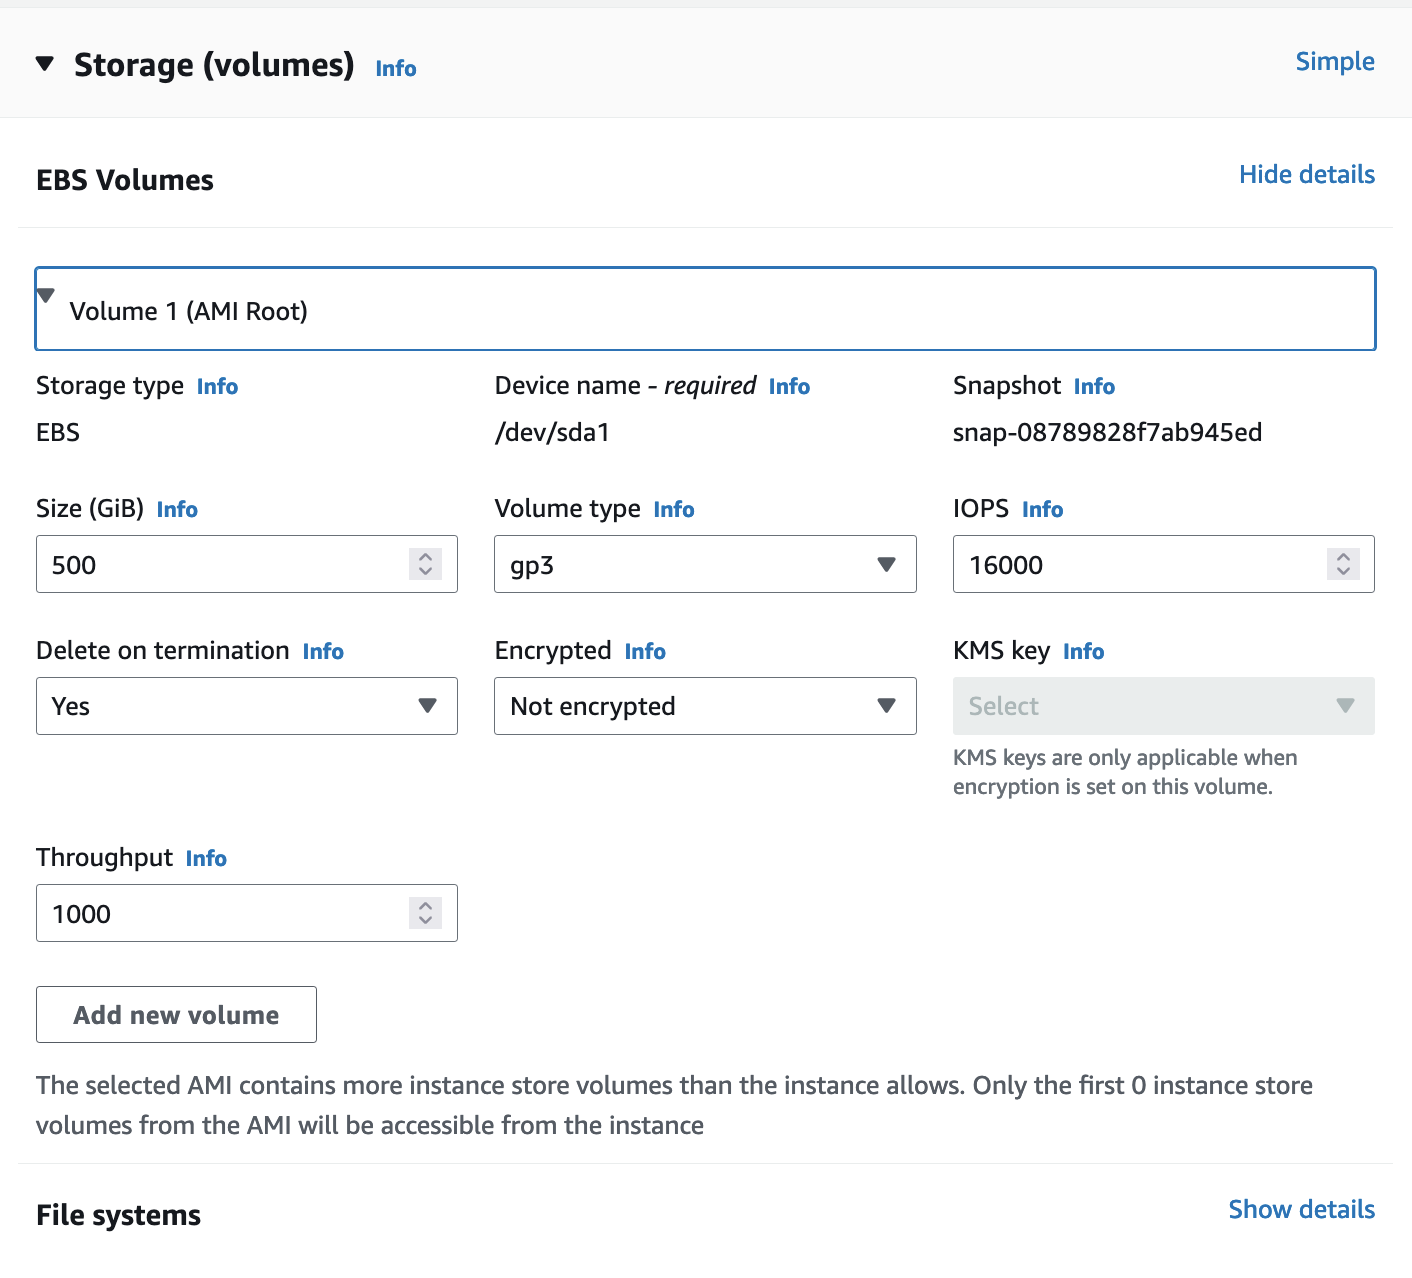
Configure Storage#
The AMI is preconfigured to use 500 GiB of gp3 as the root volume (Not encrypted)
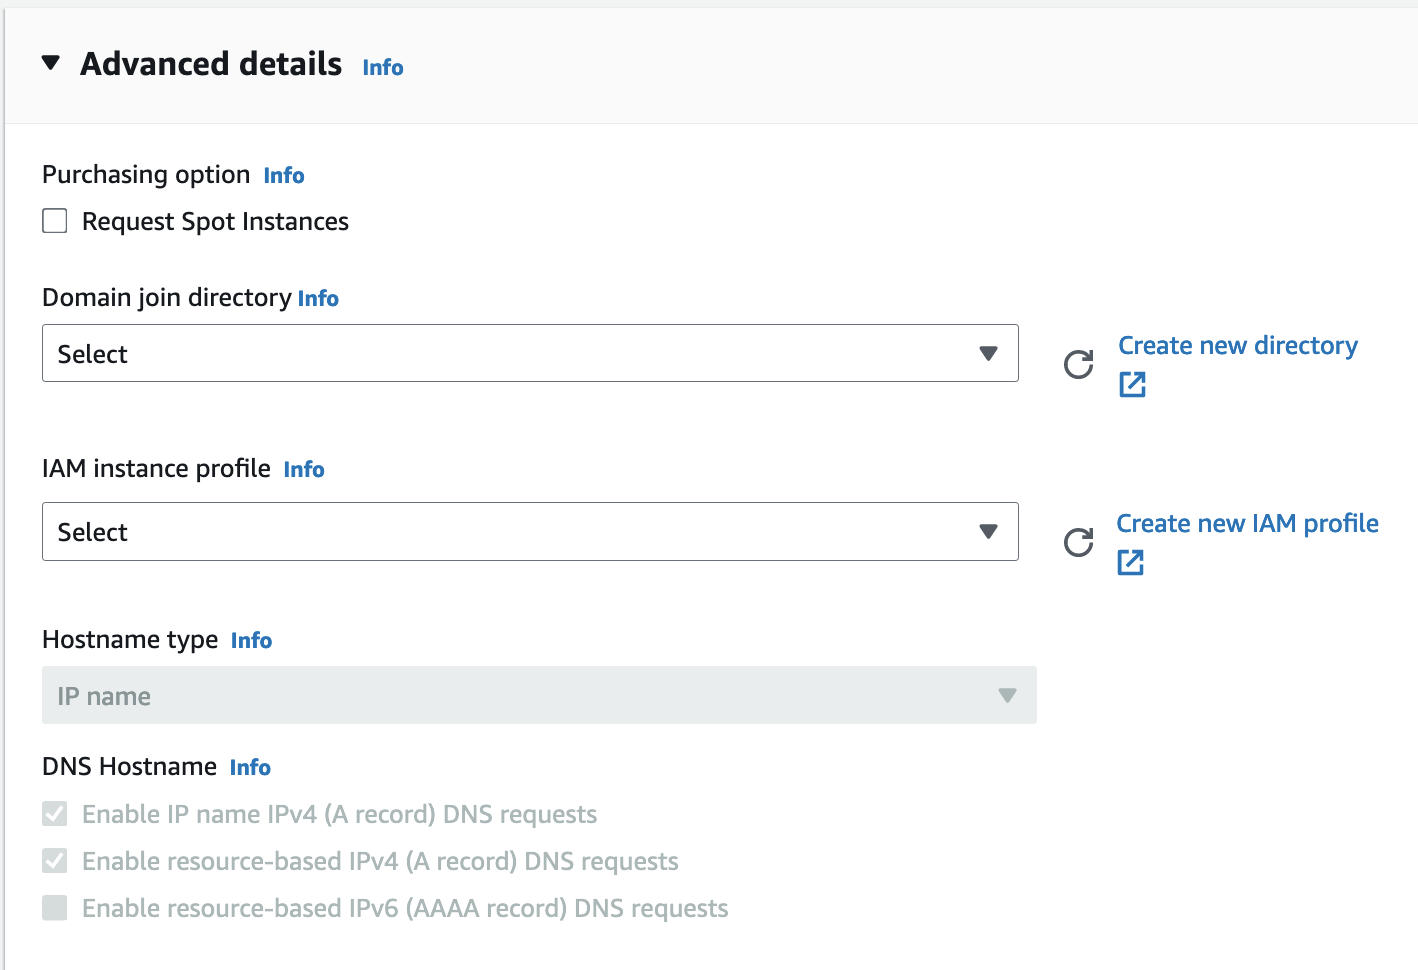
Select the Pull-down options for Advanced details#
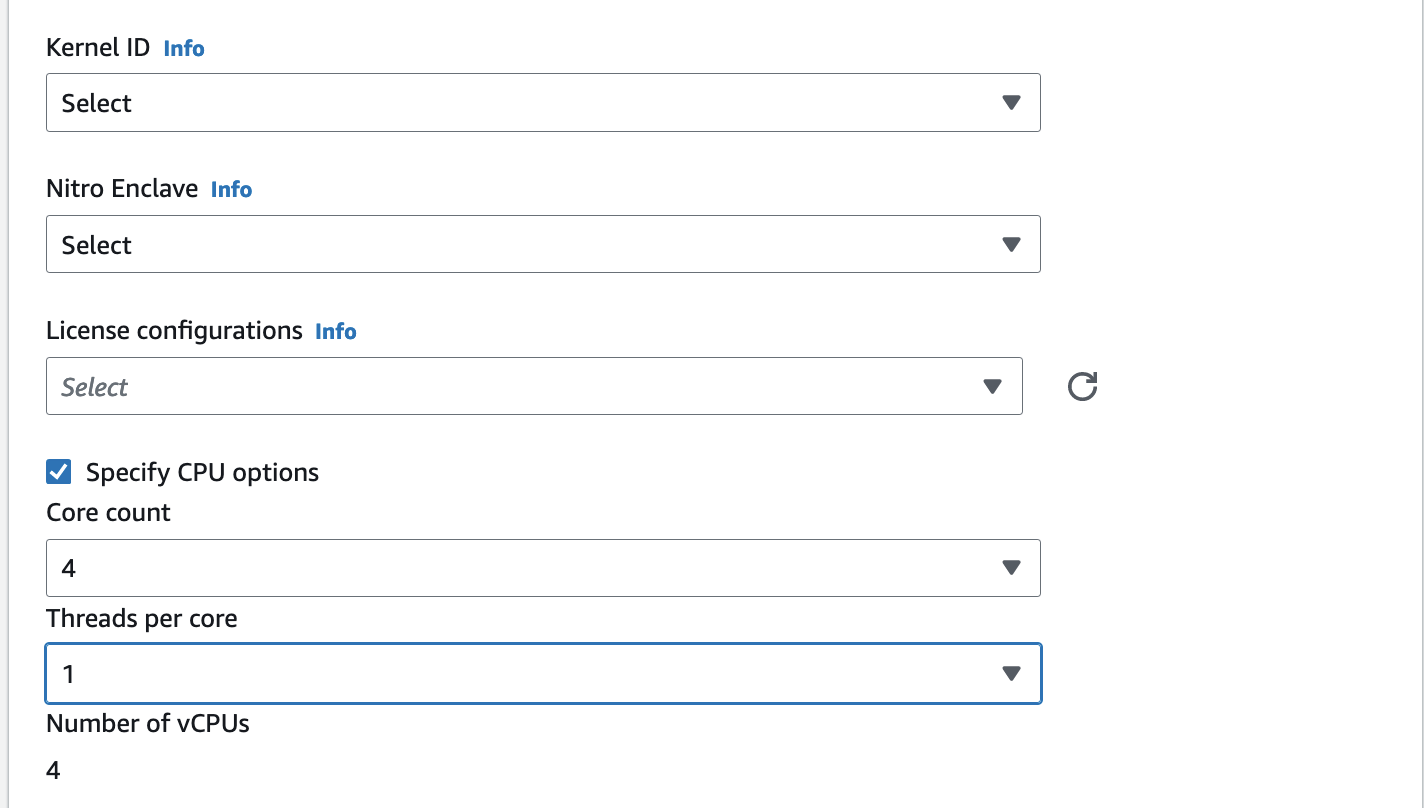
Scroll down until you see option to Specify CPU cores
Click the checkbox for “Specify CPU cores”
Then select 4 Cores, and 1 thread per core
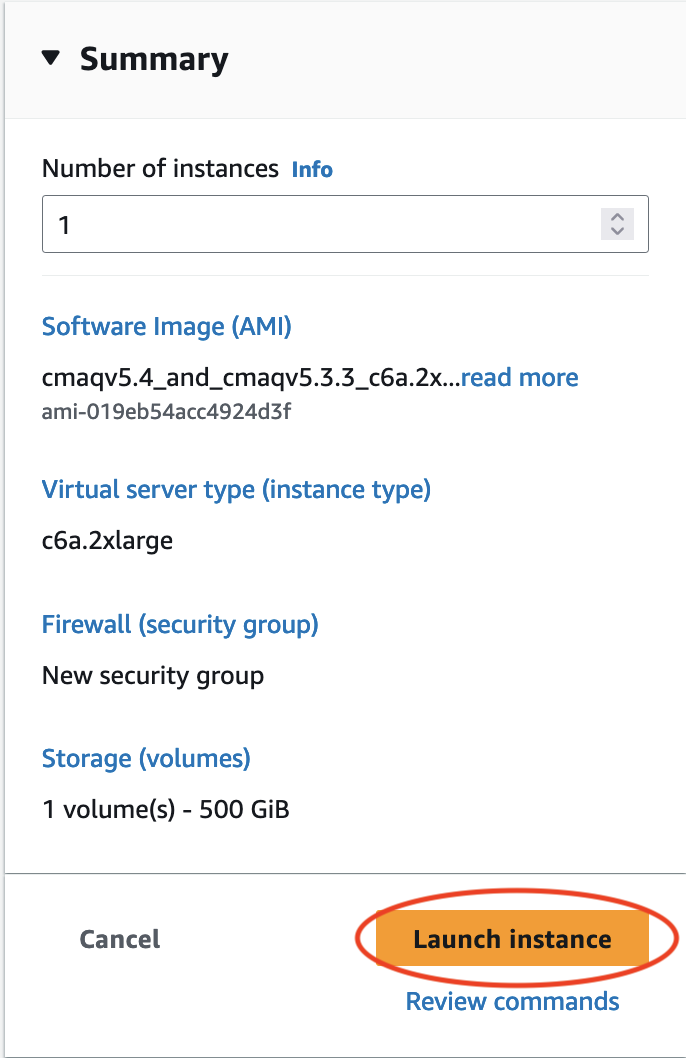
In the Summary Menu, select Launch Instance#
Click on the link to the instance once it is successfully launched#

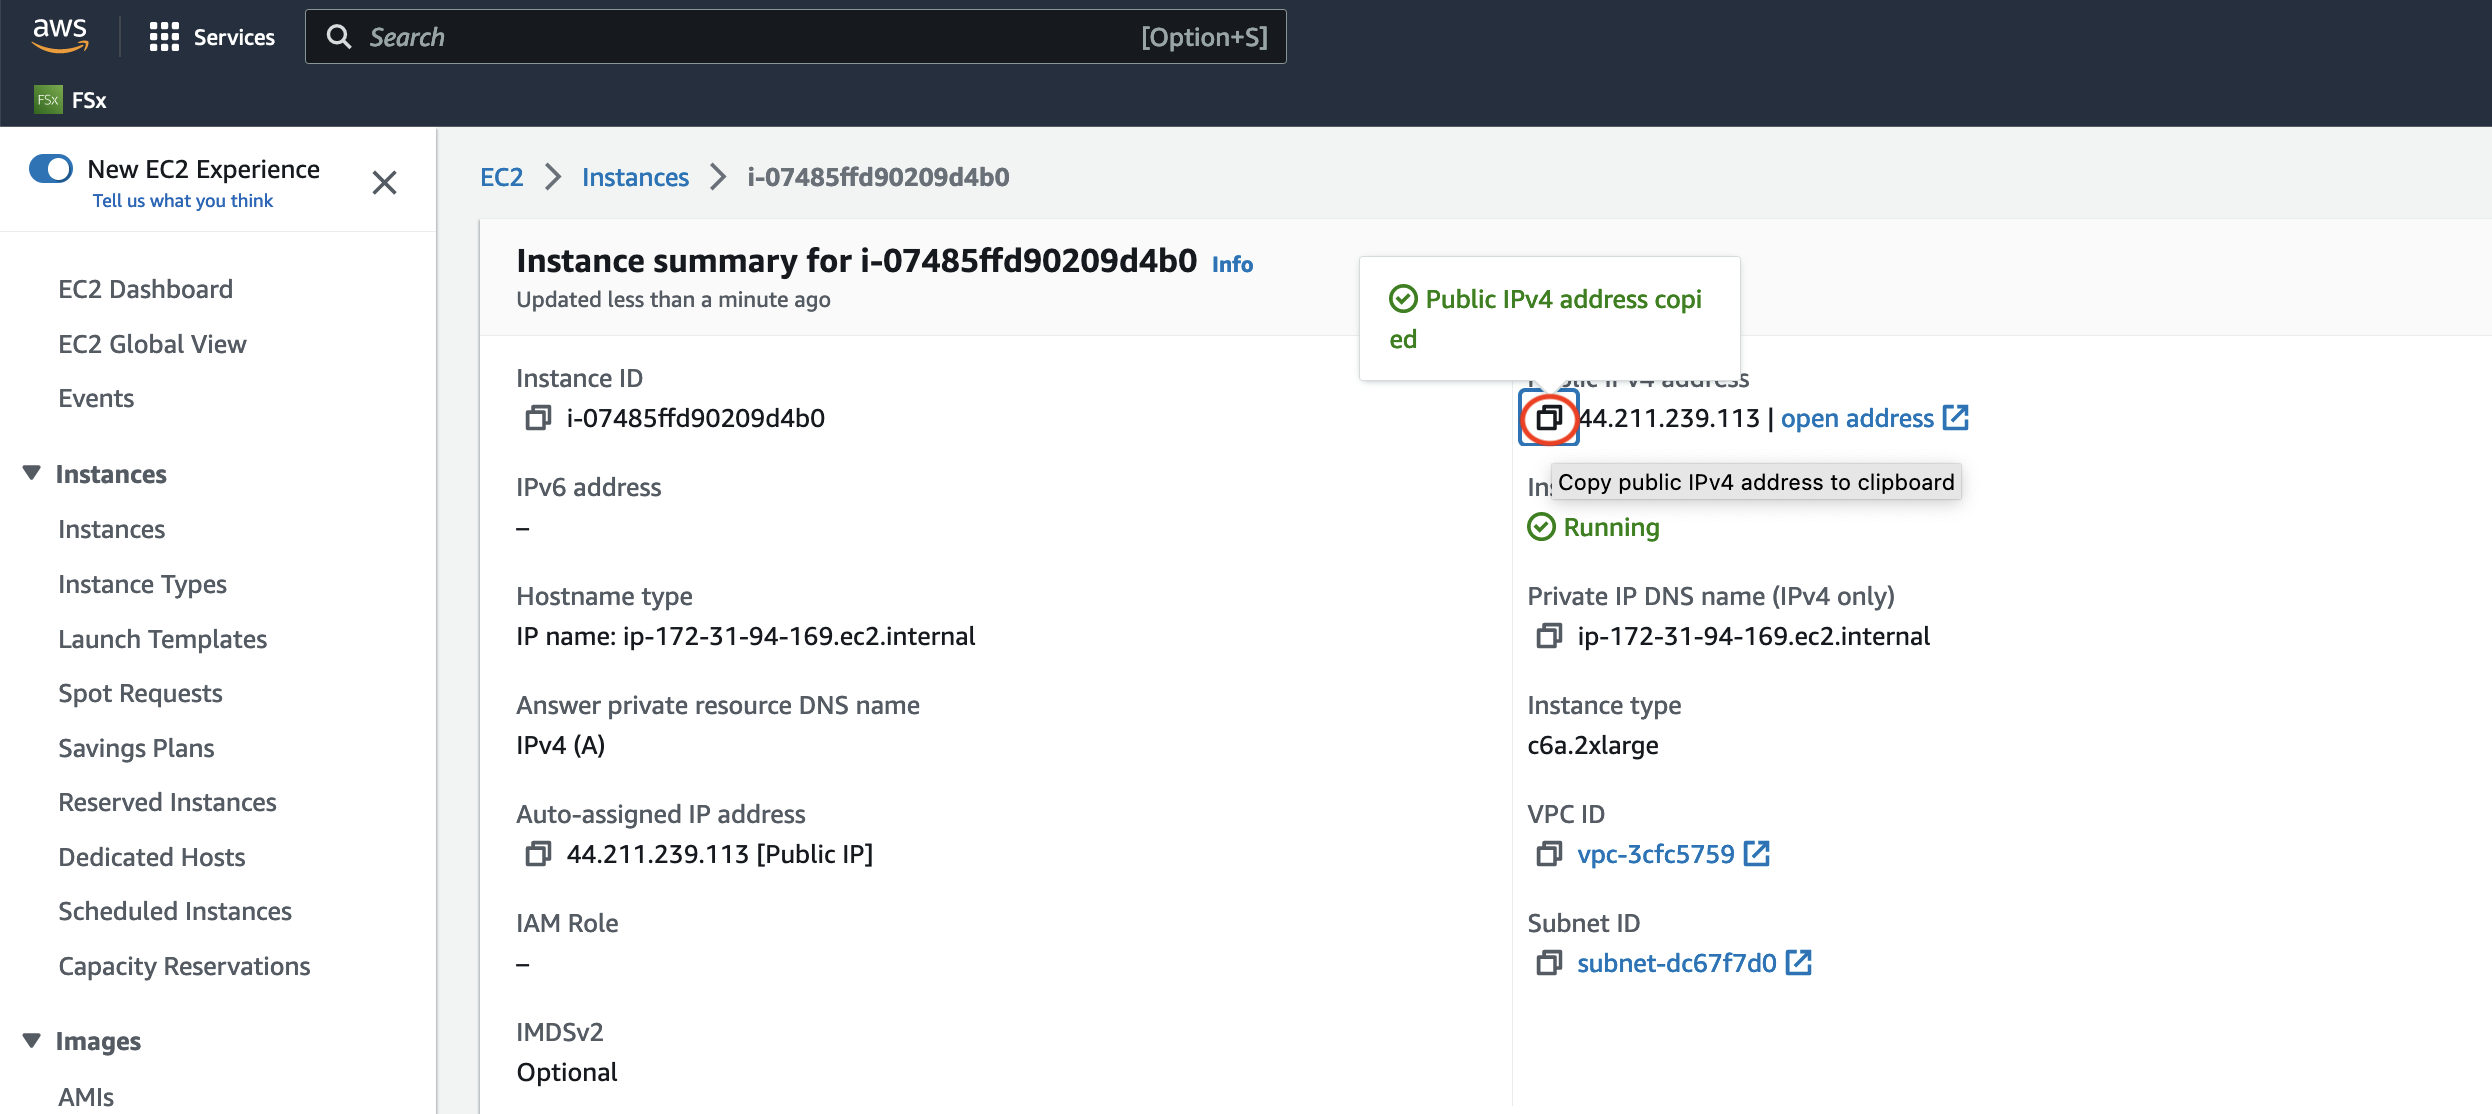
Wait until the Status check has been completed and the Instance State is running#

Click on the instance link and copy the Public IP address to your clipboard#
Use the ssh command to login to the c6a.2xlarge instance#
ssh -v -Y -i ~/downloads/your-pem.pem ubuntu@xx.xxx.xxx.xxx